How to Prepare Your Logo for Embroidery on Custom Apparel: A Complete Guide
Learn how to prepare logos for embroidery on custom apparel with expert tips on file formats, digitising, colours, and sizing for flawless results.

Written by
Rani Gupta
Branding & Customisation
Getting your logo embroidered onto custom apparel is one of the most effective ways to create a polished, professional brand presence — whether you’re kitting out a corporate team in Melbourne, ordering custom polos for a Brisbane sporting club, or supplying staff uniforms for a Perth hospitality group. But here’s the thing many organisations discover too late: the quality of your embroidered result depends almost entirely on how well your logo is prepared before it ever reaches the embroidery machine. A stunning vector logo that looks perfect on a business card can become a blurry, thread-heavy mess if it isn’t properly set up for embroidery. This guide walks you through everything you need to know about how to prepare logos for embroidery on custom apparel, so you get sharp, impressive results every single time.
Why Embroidery Requires a Different Approach to Other Decoration Methods
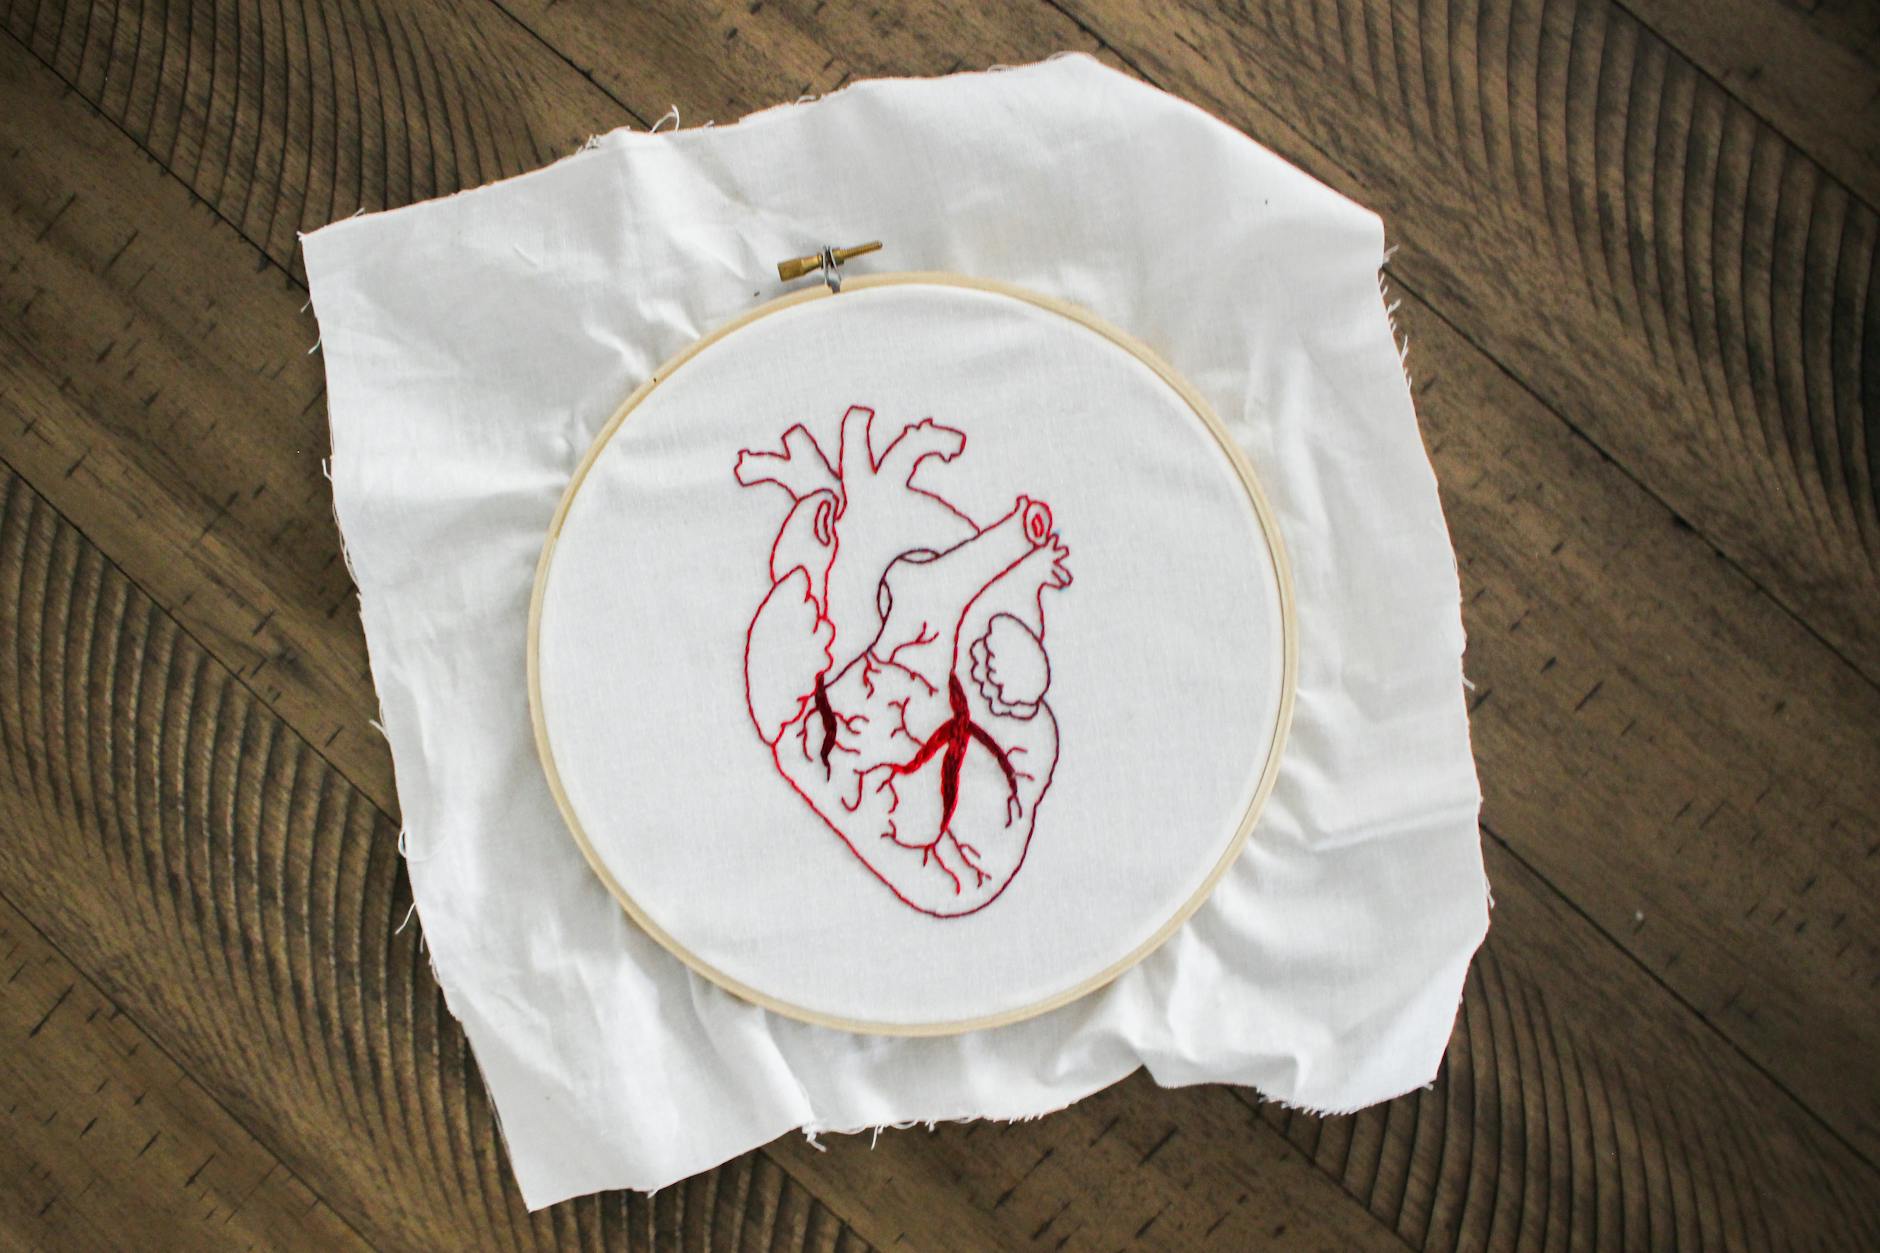
Most people assume that once they have a high-resolution logo, they’re good to go. This is true for methods like digital printing or pad printing services, but embroidery works in an entirely different way. Instead of applying ink to a surface, embroidery uses threads stitched directly into the fabric. That means your artwork needs to be translated from a flat image into a set of stitch instructions — a process called digitising.
Think of it this way: a standard image file tells a printer where to put colour. An embroidery file tells a machine how many stitches to use, in which direction, in what sequence, and at what density. These are fundamentally different instructions, and the translation process requires both technical skill and design judgement.
This is why understanding how to prepare logos for embroidery on custom apparel isn’t just about submitting the right file — it’s about understanding what makes a logo work in thread.
Step 1: Start with the Right Artwork File
Vector Files Are Strongly Preferred
When you’re providing your logo to an embroidery supplier, always aim to submit a vector file. Common vector formats include .AI (Adobe Illustrator), .EPS, and .SVG. These files are resolution-independent, meaning your logo can be scaled to any size without losing quality. This makes the digitising process significantly easier and more accurate.
If you only have a raster file (like a .JPG, .PNG, or .BMP), you can still proceed — but expect your supplier to spend more time recreating the artwork, which may incur additional fees or result in slight interpretation differences. A clean, high-resolution PNG at 300 DPI minimum is the next best option.
Avoid Low-Resolution Images
Sending a logo that’s been pulled from a website (typically 72 DPI) is one of the most common mistakes organisations make. Low-resolution files make it difficult to accurately trace design elements, especially fine lines and tight details. If you’re ordering custom hoodies in Brisbane or embroidered polo shirts for a corporate event, a blurry source file will cost you time and potentially rework fees.
Step 2: Understand What Translates Well Into Embroidery
Not every logo is naturally suited to embroidery, and it’s important to be realistic about what works in thread before you commit to an order.
Simplify Where Possible
Bold, clean designs with clear outlines tend to embroider beautifully. Logos with thick letterforms, simple icons, and solid colour fills are ideal. Designs that become more complex — think gradients, drop shadows, very fine lines, or small reversed text — need to be simplified for embroidery.
For example, a gradient that transitions from navy to sky blue simply cannot be replicated with thread in the same way it can be printed. Your digitiser will either need to create a blended effect using alternating thread colours or recommend a flat solid colour instead.
Minimum Text Size Matters
Small text is one of the most common embroidery pitfalls. As a general rule, text below 4–5mm in height tends to lose legibility when stitched, as the individual stitches can’t resolve fine letterforms clearly. If your logo includes a tagline or small subtitle, discuss with your supplier whether it should be enlarged, removed, or replaced with a simpler version for the embroidered application.
Fine Lines and Intricate Details
Lines thinner than 1.5–2mm often disappear or merge with surrounding stitches in embroidery. Intricate designs — think detailed illustration-style logos with lots of internal linework — usually need to be interpreted and simplified by a skilled digitiser. This isn’t necessarily a problem, but it does require an open conversation with your supplier early in the process.
Step 3: The Digitising Process Explained
Once your artwork is submitted, a professional digitiser will convert it into an embroidery-specific file format. Common formats include .DST, .PES, .EXP, and .JEF — each compatible with different embroidery machine brands. You don’t need to worry about which format your digitiser uses, but it’s worth knowing these files exist and that they are distinct from your original artwork.
A quality digitiser will make decisions about:
- Stitch type — satin stitches for letters and borders, fill stitches for large solid areas, running stitches for fine outlines
- Stitch direction — affects how the embroidery catches light and gives depth
- Stitch density — too dense and the fabric puckers; too light and the backing fabric shows through
- Underlay stitches — a foundation layer that stabilises the fabric and improves the top stitch quality
- Colour sequence — the order in which thread colours are applied affects efficiency and finish
This is skilled work. A poorly digitised file is one of the leading causes of poor embroidery quality, regardless of how good the original artwork was. Always ask your supplier whether digitising is included in the setup fee — many charge a one-off digitising fee per design, typically ranging from $30 to $100+ depending on complexity, but this file can then be reused for future orders.
Step 4: Colour Considerations for Embroidered Logos
Thread colours are matched using the Madeira or Isacord thread colour systems, rather than the Pantone (PMS) system used for print. This means exact PMS colour matching isn’t always possible with embroidery, though experienced suppliers can get very close using available thread options.
When preparing your logo, provide your brand colour references — whether that’s PMS codes, CMYK values, or hex codes. Your supplier will find the closest thread match available. For organisations with strict brand guidelines, like a Sydney financial services firm or a Canberra government department, it’s worth requesting a physical stitch-out sample before approving a full production run.
It’s also worth noting that the fabric colour beneath the embroidery affects how thread colours appear. A navy thread on a white garment will look slightly different to the same navy thread on a black garment. Factor this in when selecting your apparel base colour, especially if you’re ordering custom t-shirts for plus-size ranges or a variety of garment styles in different colourways.
Step 5: Size and Placement Guidelines
Standard Placement Locations
Embroidery placement varies by garment type. Common positions include:
- Left chest — the most popular location for corporate branding; typically 8–10cm wide
- Right chest — often used for a name or secondary logo
- Centre chest — suits bolder statement designs on custom hoodies and casual apparel
- Sleeve — great for secondary branding or event identifiers
- Cap front panel — a classic location; standard width for cap embroidery is typically 6–8cm
- Back yoke — suits larger school or club logos
If you’re ordering trucker caps or trucker hats with embroidered logos, keep in mind that the structured front panel limits design width and height. Caps also have a natural curve to the front panel, which means tall designs can distort slightly — wide and shorter designs typically sit better.
Scaling Your Logo for Each Location
One important but often overlooked point: your logo may need to be modified at different scales. A detailed version of your logo might work perfectly at 10cm wide on a jacket back, but require simplification when reproduced at 8cm on a left chest or 5cm on a collar. Provide your supplier with the intended size at each placement location so they can digitise accordingly.
Step 6: Garment and Fabric Selection
The fabric you choose affects how embroidery sits and looks. Tightly woven fabrics like cotton twill, polyester piqué (polo shirts), and fleece take embroidery very well. Loosely woven or highly stretchy fabrics — like some athletic performance fabrics — can cause stitches to gap or distort, requiring extra stabiliser during production.
This is especially relevant when ordering eco-friendly apparel in Brisbane or recycled PET branded jackets for outdoor eco brands, where fabric compositions can vary significantly. Always discuss your specific fabric type with your embroidery supplier before finalising your artwork preparation.
Step 7: Requesting a Sample or Stitch-Out Proof
Before approving a full production run — especially for large orders or high-visibility branded apparel — always request a physical stitch-out proof. This is a sample of your design stitched onto the actual garment fabric, allowing you to check colour accuracy, thread density, size, and overall appearance.
Most reputable embroidery suppliers offer this service, though it may add a few days to your turnaround time. For time-sensitive projects, like event swag for Australian conferences or branded apparel needed for a trade show, factor this approval step into your timeline from the outset. If you’re supplying branded apparel to schools — such as custom teacher lanyards alongside embroidered staff shirts — a stitch-out proof also helps you present a cohesive branded result to your client or committee.
Common Mistakes to Avoid
Even experienced organisations trip up on embroidery preparation. Here are the issues that most often cause delays or disappointing results:
- Submitting a logo pulled from a website — low resolution causes problems for the digitiser
- Expecting gradients to be replicated exactly — thread cannot blend colours the way ink can
- Not specifying exact placement dimensions — this leads to guesswork and potential rework
- Skipping the stitch-out approval — what looks right on screen can look different in thread
- Ordering without checking MOQs — most embroidery suppliers have a minimum order quantity, often starting from 6–12 pieces for standard items
- Ignoring turnaround time — digitising plus production can take 7–14 business days for standard orders; rush fees apply for faster turnarounds
Conclusion: Key Takeaways for Logo Embroidery Success
Preparing your logo correctly for embroidery on custom apparel takes a little upfront effort, but it pays dividends in the final result. Whether you’re ordering branded uniforms for a hospitality group on the Gold Coast, embroidered caps for a Barossa Valley promotional campaign, or staff jackets for an Adelaide council, a well-prepared logo ensures your brand looks sharp, consistent, and professional in thread.
Here are the key points to take away:
- Always provide a vector file (
.AI,.EPS, or high-resolution.PNG) for the most accurate digitising outcome - Simplify complex logos — remove gradients, fine lines, and small text that won’t reproduce clearly in embroidery
- Specify exact sizes and placement locations upfront to avoid guesswork and revision costs
- Understand thread colour limitations — work with your supplier to find the closest match to your brand colours using professional thread systems
- Always request a stitch-out proof before approving full production, particularly for large or high-profile orders
- Factor in digitising time and fees — these are typically a one-off cost and the file is reusable for future orders
Getting these fundamentals right means you’ll spend less time on revisions and more time enjoying custom apparel that genuinely represents your brand.