What a Brand Designer Needs to Know About Custom Promotional Merchandise
Discover how brand designers can create standout promotional merchandise for Australian businesses, from artwork prep to product selection.

Written by
Rani Gupta
Branding & Customisation
Working as a brand designer in Australia means far more than crafting logos and choosing typefaces. When a client asks you to extend their visual identity into the physical world — across custom merchandise, branded apparel, or promotional products — a whole new set of challenges and opportunities comes into play. Understanding how branded merchandise works, what suppliers need from you, and how to translate a carefully considered identity system onto physical products is an essential skill set for any designer working with commercial clients in 2026. Whether you’re a freelancer in Melbourne, a studio designer in Sydney, or an in-house creative at a Brisbane agency, this guide will walk you through everything you need to know to deliver exceptional results in the promotional merchandise space.
Why Brand Designers Are Central to Great Promotional Merchandise
The quality of branded merchandise lives or dies on the quality of the artwork behind it. Suppliers can screen print, embroider, laser engrave, and sublimate with extraordinary precision — but only if the design file they receive is set up correctly. As the brand designer on a project, you’re the critical link between a client’s identity and the physical products that carry it into the world.
Great promotional merchandise doesn’t just display a logo. It extends a brand story, reinforces values, and creates genuine connections between organisations and the people they serve. Think about a Perth tech company handing out sleek custom power banks and chargers at a trade show, or a Gold Coast fitness brand distributing quality workout clothing to its community. When these items are designed with care, they become powerful brand touchpoints that last long after the event or campaign is over.
As a brand designer, your role is to ensure every product tells the right story — consistently, beautifully, and in a way that actually works in production.
Understanding Decoration Methods and Their Impact on Design
One of the most important things a brand designer needs to understand is how different decoration methods affect the final result. Choosing the wrong method — or supplying artwork that doesn’t suit the method selected — can lead to disappointing outcomes, costly reprints, and unhappy clients.
Screen Printing
Screen printing is one of the most common methods for custom apparel and promotional products. It involves pressing ink through a mesh stencil onto the product surface. Each colour in your design requires a separate screen, which means colour count directly affects cost. As a designer, this is crucial to factor in — a five-colour gradient might look stunning on screen but could be prohibitively expensive to screen print at scale. Simplifying your designs to two or three solid PMS colours is often the smarter approach for promotional apparel Australia-wide.
Embroidery
Embroidery converts your design into a series of stitches, making it ideal for polo shirts, caps, and workwear. It delivers a premium, textured finish that’s associated with quality and longevity. However, embroidery is not suited to intricate fine lines, tiny text, or complex gradients. As a brand designer, you may need to create a simplified embroidery version of a client’s logo. When ordering polo shirts for company use, embroidery is frequently the decoration method of choice for corporate clients who want a professional, polished look.
Sublimation and Digital Printing
Sublimation allows for full-colour, edge-to-edge printing and is ideal for products like sports clothing, stubby holders, and personalised wine glasses. It’s one of the few methods that can handle complex graphics and photographic images without a significant cost premium. Digital printing works similarly and is often used for shorter runs or products with multiple design variations.
Laser Engraving and Pad Printing
Laser engraving removes the surface material of a product to reveal the base material beneath — think engraved metal water bottles or wooden items. It’s single-tone by nature, so your design should be clean and high-contrast. Pad printing is a cost-effective method used for small hard goods like pens and keyrings, including popular items like keychain bottle openers.
Artwork Requirements Every Brand Designer Must Know
Getting your artwork right before submitting to a supplier will save significant time and frustration. Here are the core requirements you’ll encounter across most Australian promotional merchandise suppliers.
File Formats
Vector files are the gold standard. Suppliers almost universally request .ai (Adobe Illustrator), .eps, or .pdf files with editable or outlined text. Raster files like .jpg and .png can work for digital printing and sublimation, but they need to be supplied at a minimum of 300 DPI at the actual print size. Sending a small PNG and asking for it to be scaled up will result in pixelated, unprofessional output.
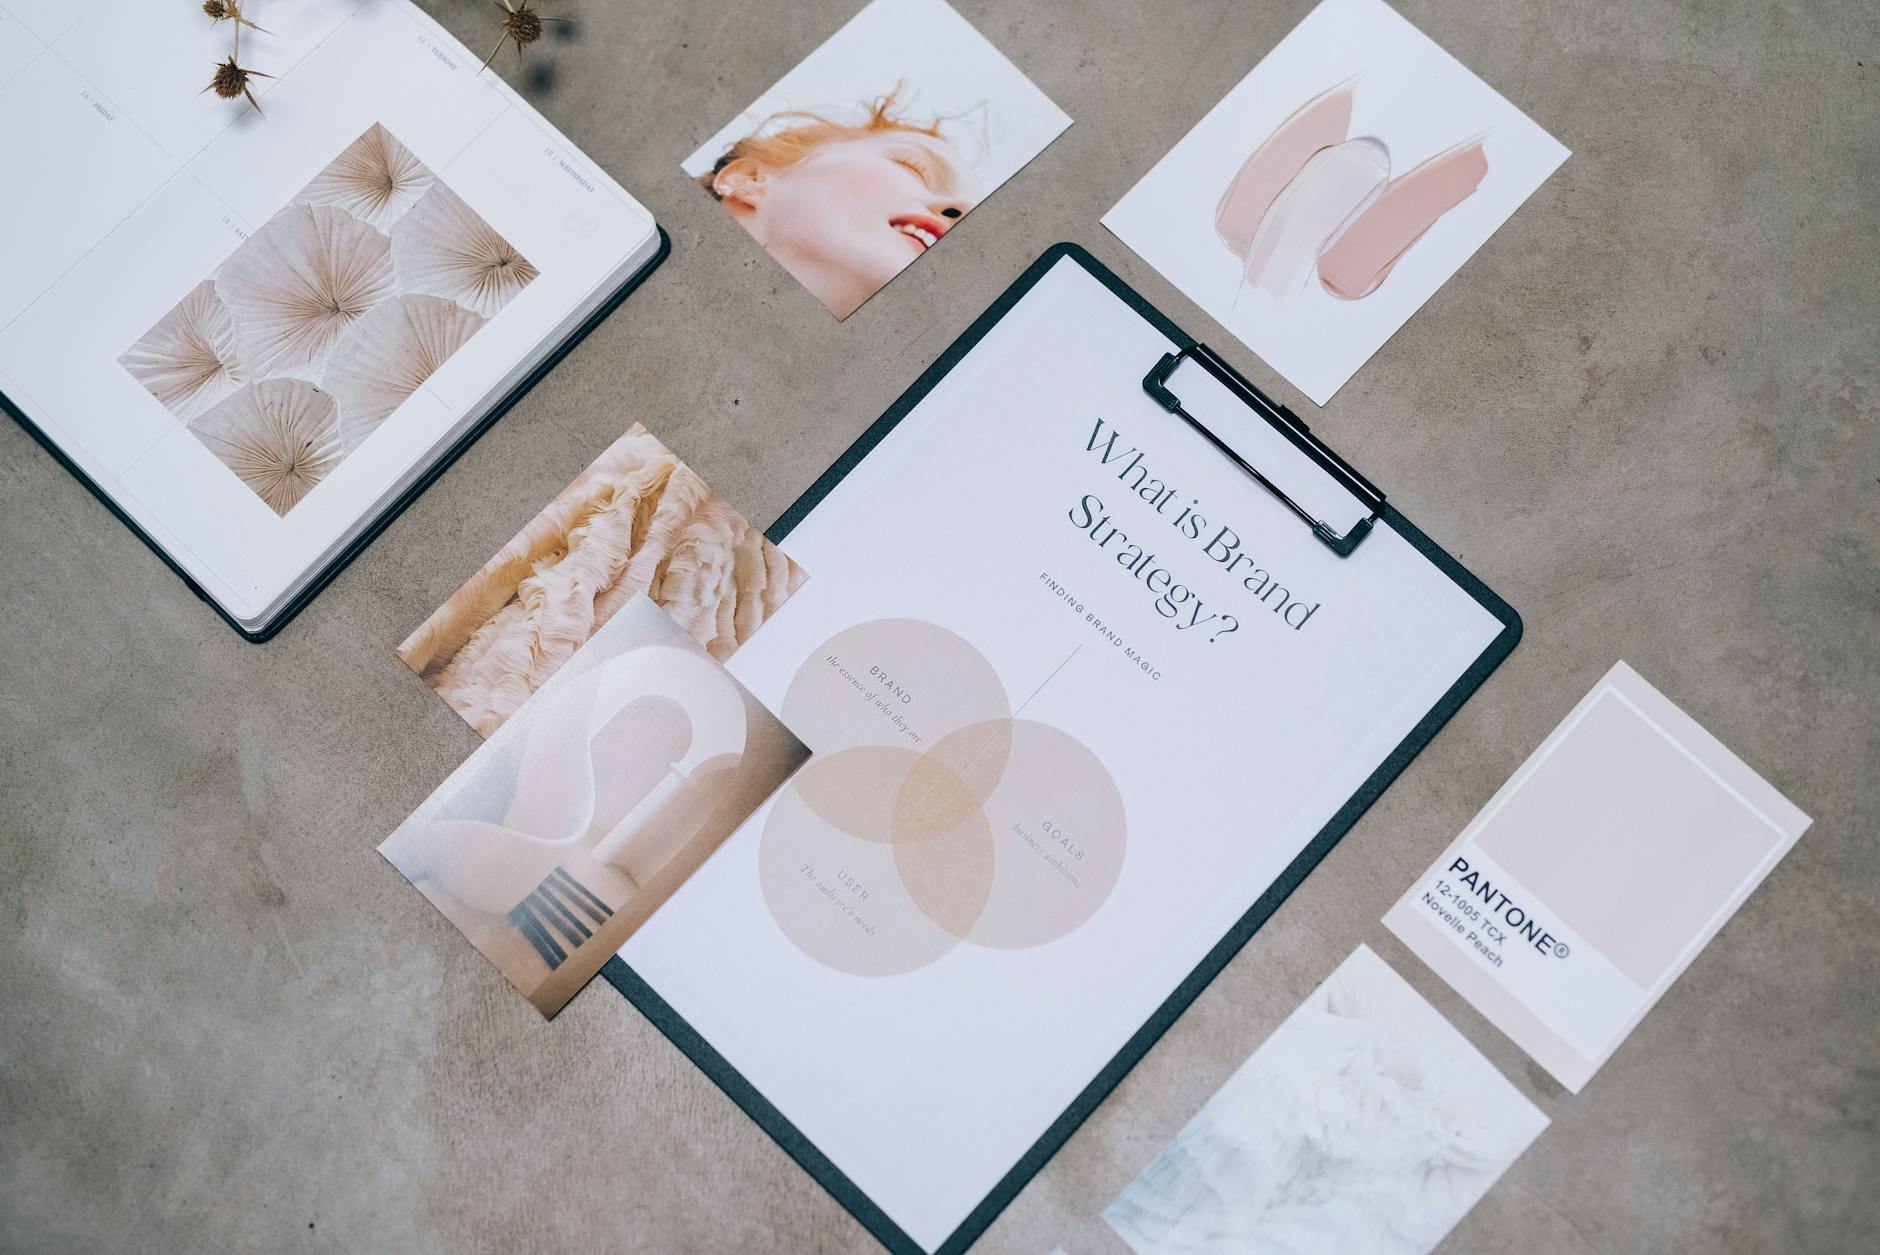
Colour Modes and PMS Matching
Always supply artwork in CMYK for print-based methods and include PMS (Pantone Matching System) colour references wherever brand colour consistency is critical. For screen printing in particular, PMS codes allow suppliers to mix inks precisely, ensuring brand colours are accurate across every product. Brief your clients on the fact that screen colours and physical print colours will always look slightly different — setting this expectation early prevents disputes later.
Safe Zones and Product Templates
Many suppliers will provide product templates showing print areas, safe zones, and bleed requirements. Always work within these templates. For example, a branded reusable personalised bag might have a specific print zone that doesn’t extend to the seams — placing your logo too close to the edge can result in it being partially obscured or cut off.
Selecting the Right Products for Your Client’s Brand
As a brand designer, you’re well-placed to guide clients on product selection, not just artwork. A product that aligns with the brand’s values, target audience, and use case will always outperform a generic giveaway. Here’s how to think about it strategically.
Matching Products to Brand Positioning
A luxury financial services firm in Sydney’s CBD will be better served by premium laser-engraved items, quality promotional water bottles, or sophisticated tech accessories than by a cheap ballpoint pen. Conversely, a community sporting club in Adelaide might prioritise high-visibility, affordable sportswear clothing and accessories that their members will actually wear and use.
Understanding brand positioning helps you recommend products from the broader range of promotional products available in the market. Take the time to explore prime promotional products suited to different industries — from hospitality and retail to education and government.
Budget and Minimum Order Quantities
Brand designers working in the merchandise space need a working understanding of how MOQs and pricing tiers function. Most promotional products have minimum order quantities — commonly between 25 and 100 units for apparel, and sometimes as low as 10 to 25 for hard goods. Pricing drops significantly as quantities increase, so advising clients to consolidate their orders rather than splitting them across multiple small runs will deliver better value.
Setup fees are another consideration. Screen printing typically involves a per-colour setup fee for creating the screens. Embroidery requires a digitising fee to convert artwork into a stitch file. These are usually one-time charges, but they need to be factored into the initial budget.
For more guidance on navigating the Australian supplier landscape, our guide to merchandise companies in Australia is a useful starting point.
Turnaround Times and Planning Ahead
One of the most common mistakes in merchandise projects is leaving ordering too late. Standard production turnarounds in Australia typically run between 10 and 15 business days after proof approval, and some custom items — particularly those sourced from overseas manufacturers — can take four to six weeks or longer. Rush fees are often available but can significantly inflate costs.
As a brand designer, build merchandise ordering timelines into your project plans from the start. Factor in time for supplier quotes, sample approval, artwork proofing, production, and delivery. If a client is planning a Melbourne conference in early October, the merchandise conversation needs to happen in August at the latest.
Working With Suppliers as a Brand Designer
Developing strong relationships with reliable suppliers is genuinely valuable for a brand designer who regularly works on merchandise projects. A good supplier will review your artwork proactively, flag potential production issues before they become problems, and offer alternatives when your preferred approach isn’t feasible.
When briefing suppliers, always provide:
- Final vector artwork with outlined fonts
- PMS colour references
- A clear brief specifying product, colour, size, and decoration placement
- A style guide or brand guidelines document where available
Suppliers who work across Sydney promotional products and other capital cities are often well-versed in tight turnarounds for corporate and event clients. Clear, well-prepared briefs will always result in smoother production and better outcomes.
For a broader overview of how promotional merchandise fits into marketing strategy, it’s worth exploring our resource on raising brand awareness through promotional products and our deep dive into promotion merchandise strategies.
Conclusion: Key Takeaways for Brand Designers Working in Merchandise
The world of promotional merchandise is rich territory for brand designers who take the time to understand it properly. When you combine strong visual thinking with a practical grasp of production methods and supplier requirements, you become a significantly more valuable creative partner for your clients.
Here are the key things to take away:
- Know your decoration methods — screen printing, embroidery, sublimation, laser engraving, and pad printing each have distinct design constraints and aesthetic qualities that should inform your artwork decisions.
- Artwork preparation is everything — always supply vector files with PMS references and work within supplier-provided templates to avoid costly production errors.
- Guide product selection strategically — recommend products that align with the client’s brand positioning, target audience, and budget, rather than defaulting to generic options.
- Build realistic timelines — factor in quotes, sampling, proofing, production, and delivery from the very start of any merchandise project.
- Understand the commercial side — MOQs, setup fees, and pricing tiers all affect the final budget, and a brand designer who understands these variables can help clients plan smarter.
Explore our full range of promotional materials Australia resources and promotional guides to build your knowledge and deliver exceptional results for every client who trusts you with their brand.